
This is an old revision of the document!
Table of Contents
Creative Team Procedures
Barcode Decals
The following file is an example of a template which can be used for loading barcodes with the data merge features in InDesign: \\PTFILES\SharedGraphics\COMMUNITY_ARTWORK\Chroma-Tec\___PrintTests\Barcodes\Cutlines\barcode_cutline.indd
Intervals
Virtuals
- Task opened by licensing listing all product sku #’s that are affected and need to be changed
- Creative team makes print/virtual files & updates custom artwork for can coolers, picnic tables, icons & concertos
- Virtuals are created using the proper pngs/jpgs for product color and decoration method (chromatec, engraving, UV, and embroidery)
- Virtuals are renamed to include proper team code, decoration code and entity code
- Virtual are double checked to insure proper sku naming and images look correct (no floating logos/photoshop glitches)
- Virtuals are moved into the working folder for proper entity EXAMPLE:
ActiveProjects/Entities/0-Schools/TEMP_SAVES/1-Working - For schools ONLY task status is changed to design sheets needed by creative team and the IT Coordinator is added to the task. Design sheets are made and task status is put into review.
- For ALL other entities pdfs are made and put into the entities pending folder. Task status is then changed to review EXAMPLE:
ActiveProjects/Entities/0-Schools/TEMP_SAVES/2-Submissions/1-PENDING
IF MISTAKES ARE FOUND THEN: - Task status is changed to redo/modify by licensing team
- Creative team makes corrections to all virtuals needing revisions. Psds and designs sheets/pdfs are replaced.
- Task status is changed to verify and close by creative team
- If all corrections look okay licensing team submits for approval and changes status to pending approval.
IF MISTAKES ARE STILL FOUND - Licensing team returns to step 9
- Once all submissions have been approved the task is closed
Print Files
- Once submissions have been approved A NEW TASK is opened with a list of all product sku #’s needing print files
- Print files are created for engraving, chromatec and UV printing and saved into the correct folders. Task is then put into review status. We DO NOT set up embroidery files, licensing handles them.
Proper print file naming:
Chromatec: schoolname_productname_color.eps Example: MississippiState_Bongo_Black.eps
UV: cityabbreviation_teamname_productname_UV.eps Example: CIN_Reds_Syrah_UV.eps
Engraving: cityabbreviation_teamname_productname.eps Example: NYG_Giants_Elan.eps
If unsure of proper naming technique reference other saved print files as example.
Please use the list provided in intervals to make print files not the images in working. They may not have been approved.
You may however reference working images to make sure you are using the proper logo.
IF MISTAKES ARE FOUND THEN:
a. Task status is changed to redo/modify by licensing team
b. Creative team makes corrections to all print files needing revisions. Print files are replaced.
c. Task status is changed to verify and close by creative team
d. If all corrections look okay licensing team closes the task
e. If mistakes are still found licensing team returns to step a - Once all print files are correct the task is closed
Visual Matrix / Sell Sheet / Website:
- Once ALL items have been approved licensing team moves psd files to the DAM
EXAMPLE:SharedGraphics/__DAM/Product_Images/Licensed_Items/3-MLB - Licensing team creates all jpg files and moves them to the product images folder
- A new task is put in notifying the IT Coordinator that all items are approved and visual matrix/sell sheet can be made
- The IT Coordinator creates visual matrix and sell sheet then changes the status to verify and close
* IF MISTAKES ARE FOUND THEN:
a. Task status is changed to redo/modify by licensing team
b. The IT Coordinator makes corrections to visual matrix/sell sheet and re-saves them
c. Task status is changed to verify and close by the IT Coordinator
d. If all corrections look okay licensing team closes the task
e. If mistakes are still found licensing team returns to step a - Once visual matrix and sell sheet are correct the task is closed
- Licensing sends out an email to all customers/consumers/dealers/employees/etc notifying them of the logo change
- the IT Coordinator receives this email and updates the images on the website using the jpgs licensing created
Packaging
Non-Licensed Packaging
Jen receives orders for packaging, or updates needed for packaging that we need to be reordered.
- Sends project in intervals to art team
- Art team selects photos for product (if it's a new product check with product designer to verify accurate photos) -if missing photos, have Jesse take photos or write them down for when Jaime comes
- Have the back bring a product for measuring (if not for the size of the box, for the location of the cut out window)
- Get box die cut/dimensions from
Jen (or Sammy) and measuring product - Get info required on box here:
CompanyShared/Product Development/Package Design/Hang Tags and Gift Box Text
CompanyShared/Product Development/Package Design/Barcodes/UPC(only if packaging is for one color) - Get design template here:
Graphics/ Boxes Tags/Packaging/_TEMPLATES - Layout packaging
- Jesse Review packaging, make changes as needed.
- Review- Send “Jesse approved” packaging to
Jen (and Tiffany for licensing packaging) for her approval
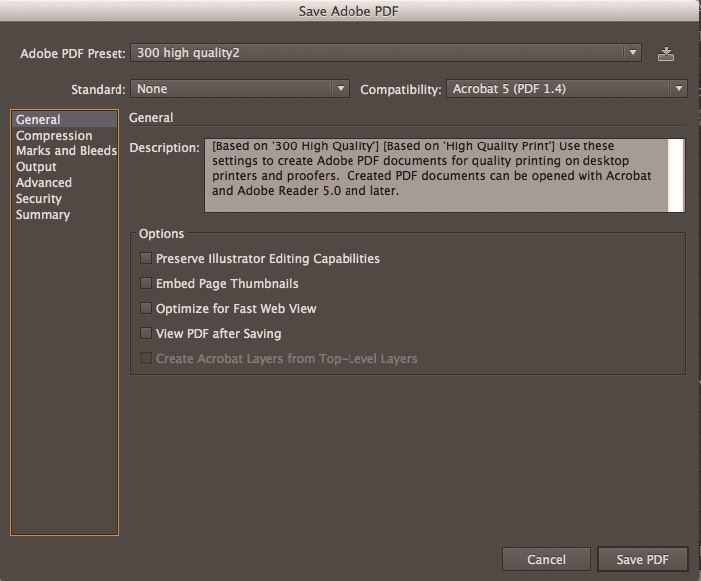
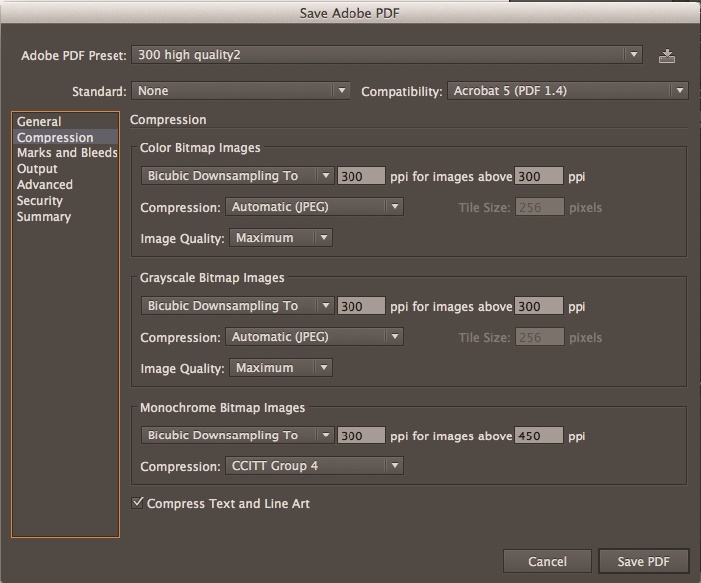
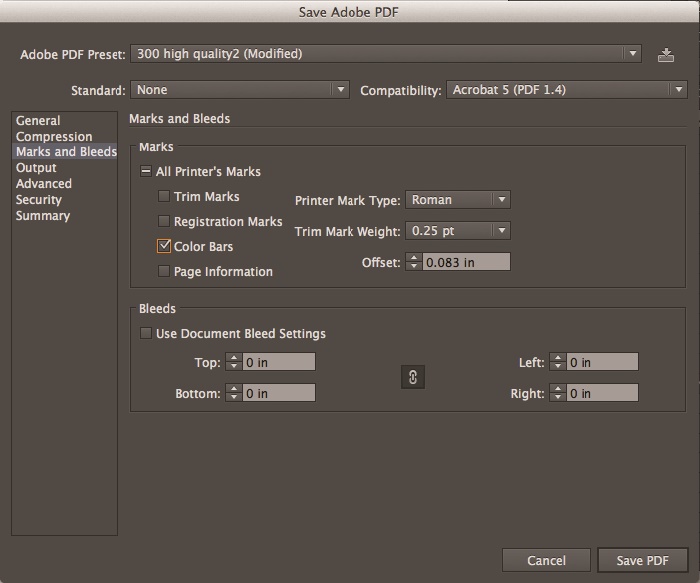
pdf file must have embedded images
pdf file must have all outlined fonts
make sure to double check overprint preview in illustrator
may need to flatten artwork
pdf settings:
- Redo/Modify
Make any changes or modifications then pdf it. - Save pdf here:
CompanyShared/Product Development/Packaging PDFs - Ready for Supplier-
Jen has approved the packaging and is sending it to China for printing - Review China print proof- China will send us proof of what the packaging will look like and any changes they had to make.
Proof to be reviewed by art team person who DID NOT do original design. - Verify and Close- proof has been approved by art team.
Jen can send approval “signature” to China. - Ready for Supplier-
Jen has approved the packaging and is sending it to China for printing Jen communicate any problems with packaging- Buyer request refunds on supplier errors
Jen communicate any problems with packaging- Buyer request refunds on supplier errors
Carton Packaging
Jen receives orders for packaging- Sends project in intervals to art team
- Get design template here:
Graphics/__Boxes_Tags/Packaging/_TEMPLATES/Shipping_Box_TEMPLATE.ai - Get box dimensions, and pack quantity here:
UserSharingFolders/REFERENCE/Product_Data_Sheet_PicnicTime_2015_MASTER_Raw_010715.xlsx(column U-V) - Layout packaging
- Jesse Review packaging, make changes as needed.
- Review- Send “Jesse approved” packaging to
Jen for her approval - Redo/Modify- Make any changes or modifications then pdf it.
-pdf file must NOT have outlined fonts (supplier adds dimensions and weight to label on box)
-save pdf as “illustrator default” settings - Save pdf here:
CompanyShared/Product Development/Packaging PDFs - Ready for Supplier-
Jen sends to supplier Jen communicate any problems with packaging- Buyer request refunds on supplier errors
Product Design Sheets
Product design sheets are PDF files mostly for NCAA licensed products. They include Picnic Time's contact information, the licensed team name, product information, the team's logo, a studio shot of the product and team color information. Below are steps for creating the NCAA design sheets.
- Obtain a list of product SKUs that require design sheets from Picnic Time's licensing department.
- Open the design sheet spreadsheet:
- Open the design sheet template in InDesign:
- Microsoft Windows (layout A) \\PTFILES\___DAM\Licensing_Assets\0-Collegiate\Design_Sheets\DesignSheet-TEMPLATE-DataMerge-PC.indd
- Select the CSV file (from step 4) as the Data Source and use Data Merge to create a Merged Document. The templates include A and B masters. The B master layout is used for the following products:
- 686 - Mega Can Cooler
- 690 - Can Cooler
- 691 - Mini Can Cooler
- 811 - Picnic Table
- 910 - Icon
- 919 - Concerto
- Export PDF at 200ppi.
- Acrobat can be used to extract pages as separate files from PDFs.
Visual Matrix PDFs
The Visual Matrix PDF files include Picnic Time's contact information, the licensed entity logo, the licensed team logo and studio shots of each product for the team. Below are steps for creating the visual matrix PDF files.
- Obtain a list of product SKUs and product names that require visual matrix PDF files from Picnic Time's licensing department or see (customer copy) spreadsheets saved here: \\PTFILES\SharedGraphics\Licensing
- Open the design sheet spreadsheet:
\\PTFILES\SharedGraphics\___DAM\Licensing_Assets\VisualMatrix-MASTER.xlsx - Update the lists of products in one of the
PRODUCTSworksheet tabs (do not paste values over the formulas in columnA). - Use the
ENTER INFOsheet to generate a CSV file for one team from one of theCSVsheets, or one of thePC CSVsheets to generate a CSV file for all teams in an entity. - Open the visual matrix template in InDesign:
\\PTFILES\___DAM\Licensing_Assets\VisualMatrix-MASTER.indd - Select the CSV file (from step 5) as the Data Source and use Data Merge to create a Merged Document (Window - Utilities - Data Merge).
- Save the InDesign file in the relevant subfolder here: \\PTFILES\SharedGraphics\___DAM\Licensing_Assets\
- Export three PDF copies; one at
highest quality, one at200ppiand one atsmallest file size. - Acrobat can be used to extract pages as separate files from PDFs (useful when making one visual matrix PDF file for all teams within a licensed entity).
- PDFTK can be used to arrange pages if necessary (useful when assembling single PDF pages to make one file for each team).
